
How to use a quilting stencil
Quilting stencils are a great way to transfer complex quilting patterns on to your quilt - in this article we will explain what a quilt stencil is and how to use one effectively.
What is a quilting stencil?
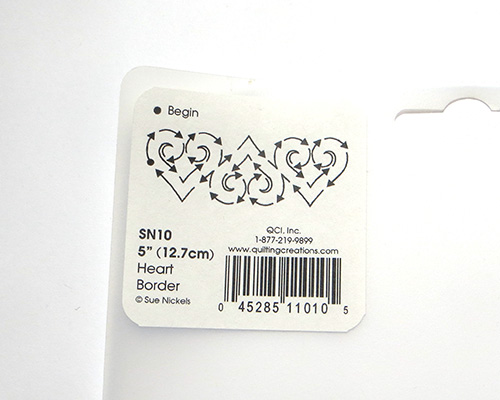
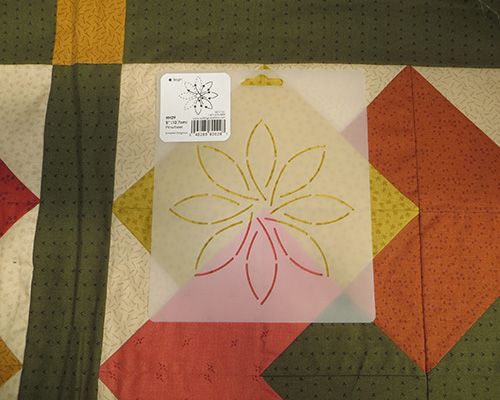
Quilting stencils are usually made from lightweight plastic, with laser-cut channels cut out to form the design. There are many designs available including large centre medallions, borders, corner designs and all over background designs such as stippling. The idea is that you draw onto the quilt top using the cut channels as a guide, thus transferring the design onto the fabric. Some example designs are shown below:
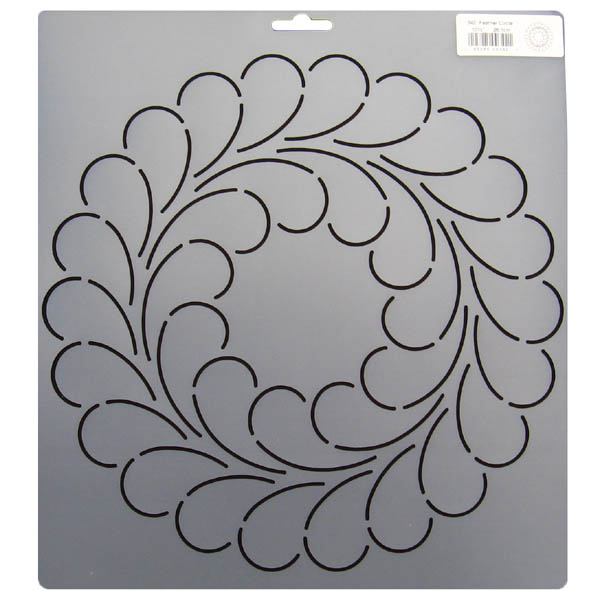 | 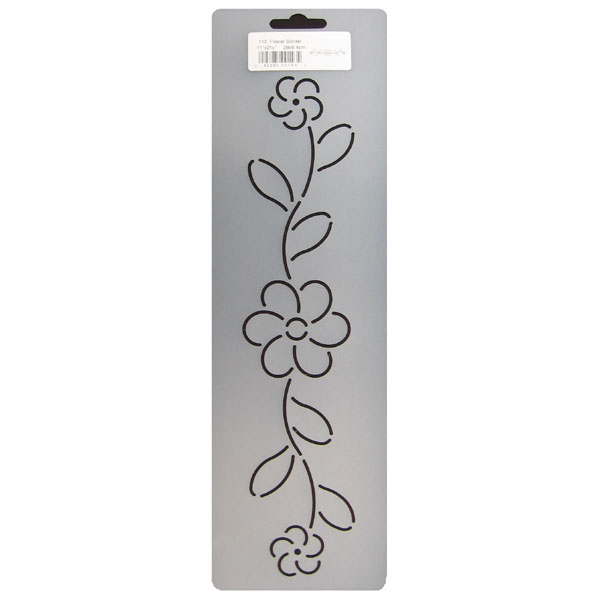 | 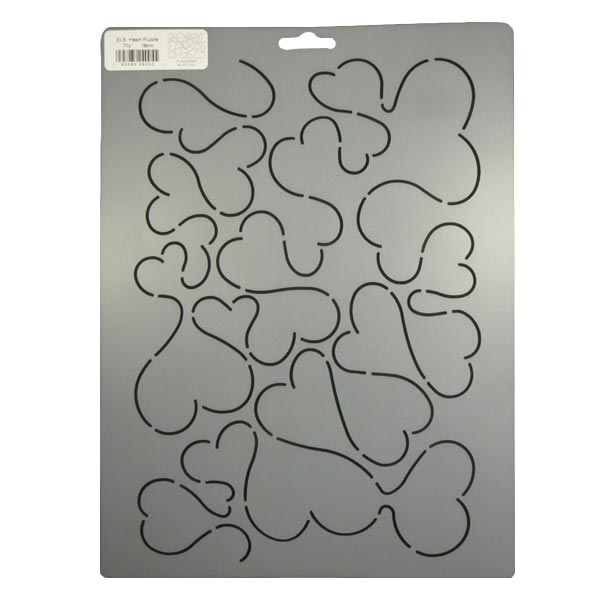 | 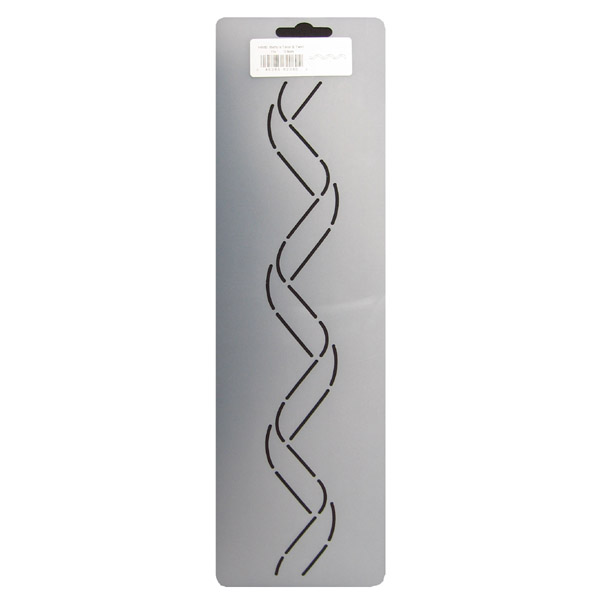 |
Tip: One thing to look out for in a quilting stencil is if it is a continuous line design or not - this means you can follow the whole design without stopping and starting the quilting line. If hand quilting, lots of stops and starts aren't much of a bother, but if you're going to be machine quilting a continuous line design makes things much easier! Continuous line quilt stencils usually have directions at the top of the stencil to show you how to follow the design:
How do I use a quilting stencil?
In simple terms, to use a quilting stencil you lay it on top of the fabric and draw through it following the design. The confusion comes when deciding what to use to mark the lines, and which stencil to opt for!
When it comes to marking the lines, there are many options - water soluble fabric pencils and pens, chalk markers, hera markers or quilt pounce are popular choices. Many people also like Frixion pens (which disappear when ironed), but we don't recommend these as there is a possibility the line could come back which could be a disaster on a pale fabric quilt top. Our recommendation is a water soluble pen, to give clean lines that wash out easily with water, and don't smudge or brush off during the quilting process like a pencil or chalk can - we have used the Sewline Duo pen in the images as it has a fine line in dark grey that can be seen on most fabrics, and the eraser pen that comes with it makes removing the lines a breeze!
The images below show the stages of using a quilt stencil:
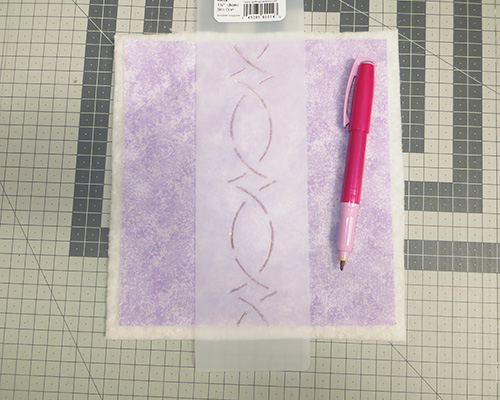
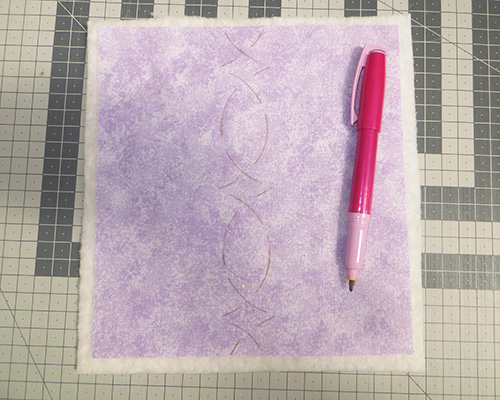
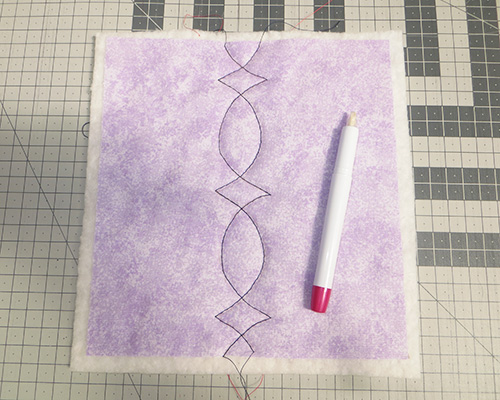
1. Lay the quilt top on a flat surface and mark the lines using your preferred marker
 |  |
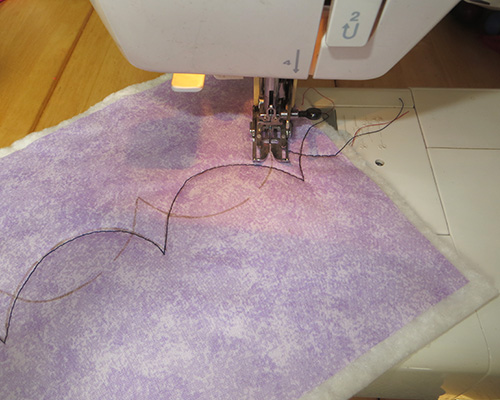
2. Hand or machine quilt along the lines, then erase the markings using your preferred method - we used the Sewline duo eraser pen.
 |  |
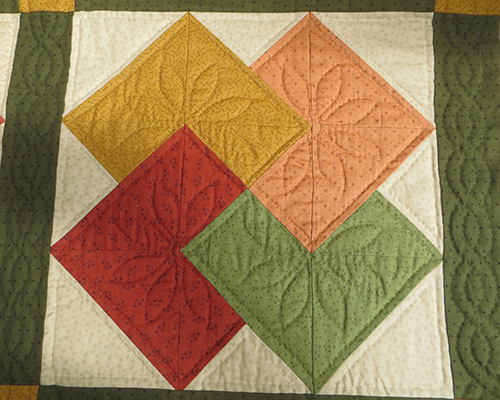
The main other consideration when buying quilting stencils is the size to choose - you need to plan according to the size of the area you want to quilt. The size stated on the description of the quilting stencil is usually the size of the actual design, not that of the full stencil. Remember you don't have to use the whole design, you can use a part of it to fit the area you are quilting - see below for an example of this.
 |  |
Tip: For borders it is a good idea to choose a width at least half an inch less than the width of your border, to avoid having to quilt through the seam allowances, especially important when hand quilting.
We hope this has been useful, don't forget we have a large range of quilting stencils available to buy on the website!